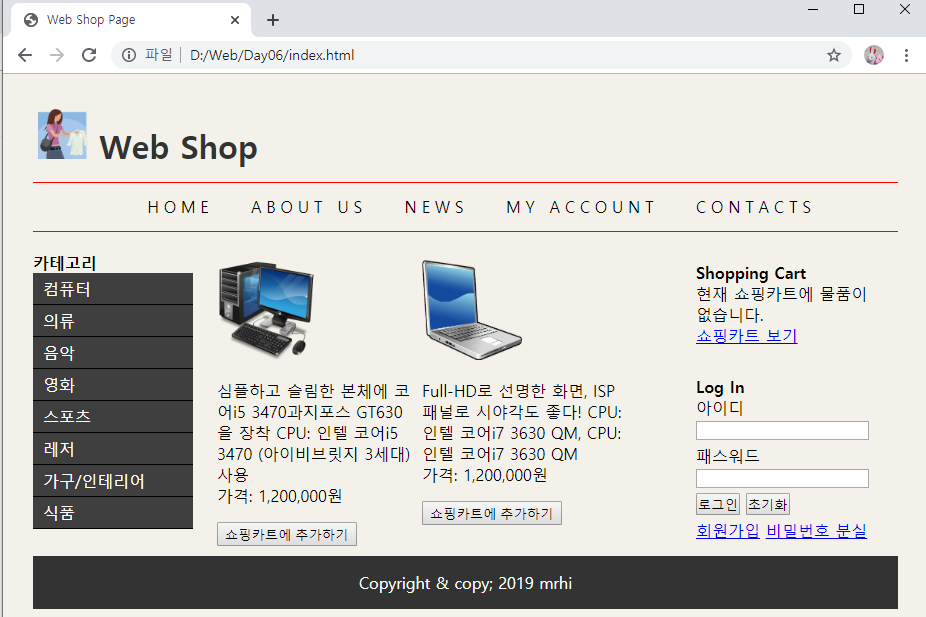
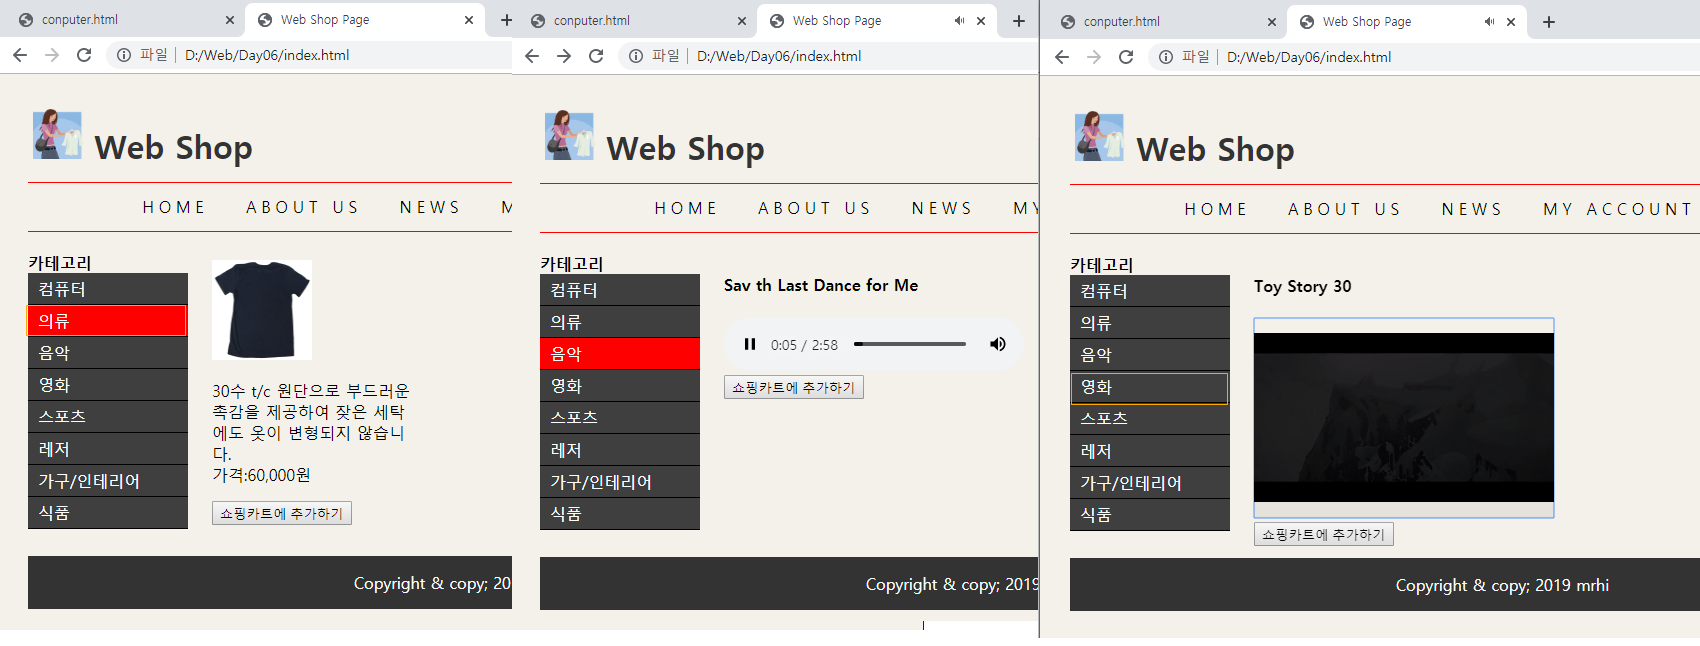
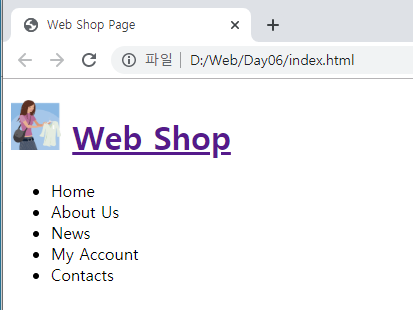
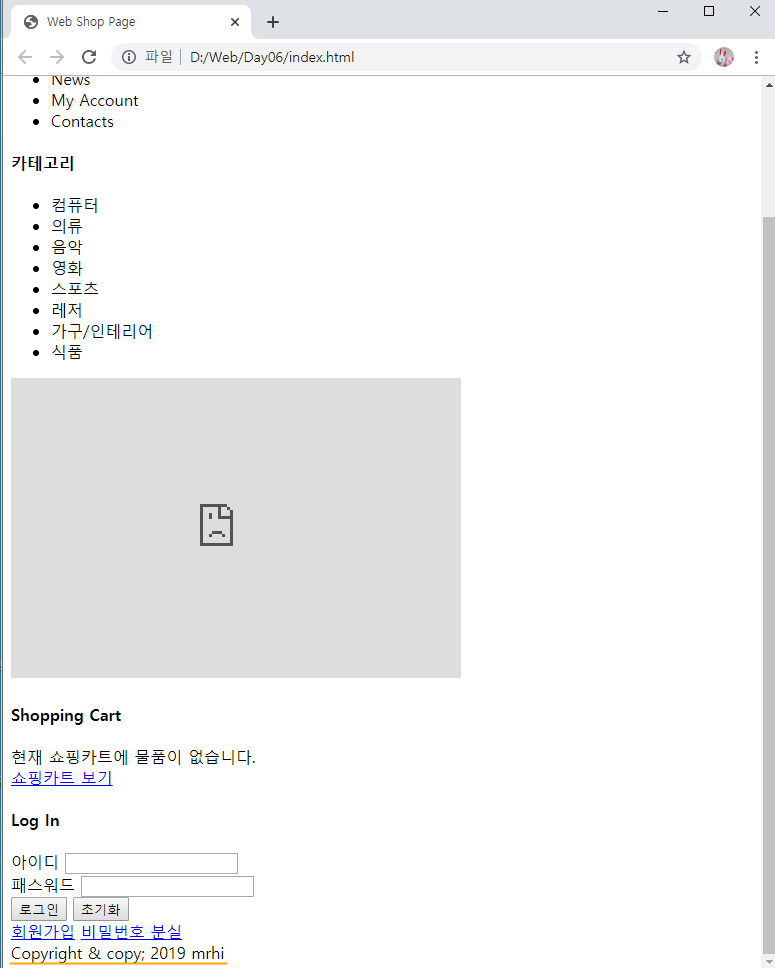
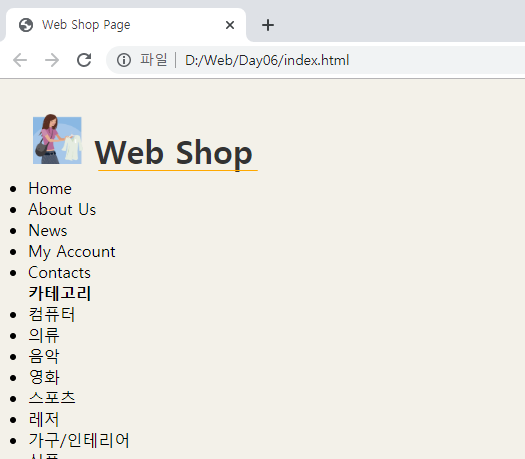
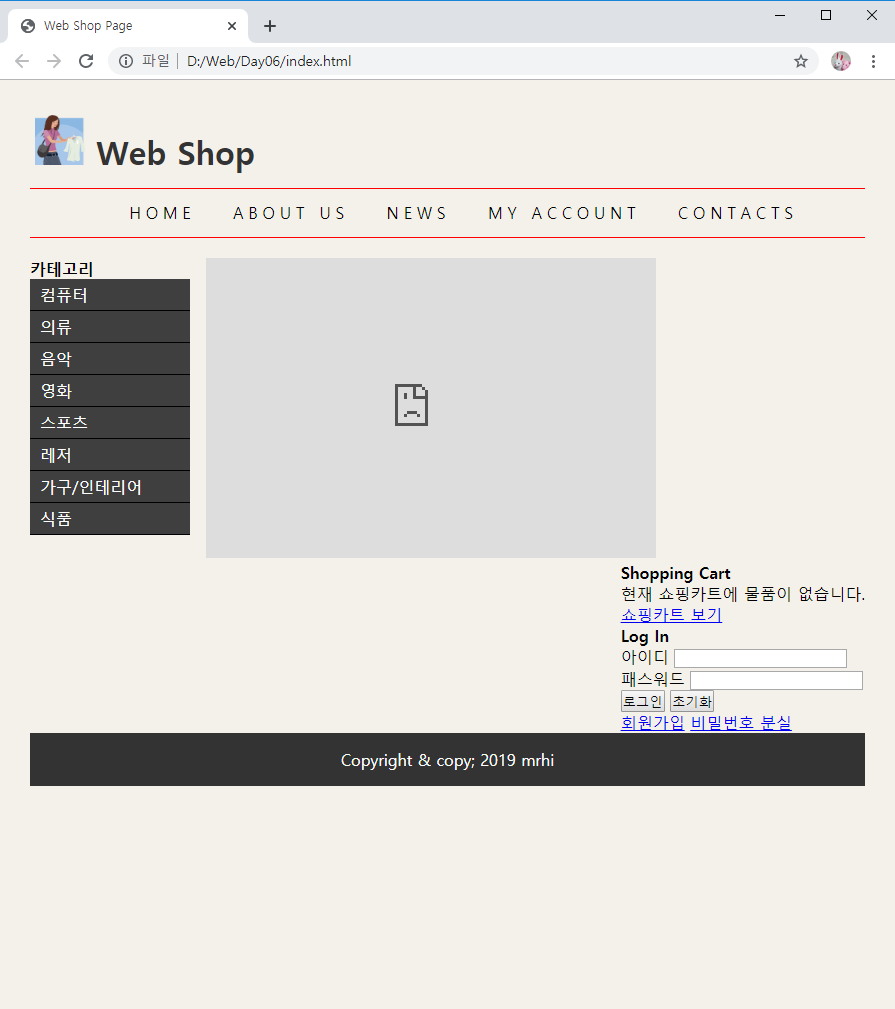
<최종 화면> 카테고리를 선택할 시, 해당 html을 화면 가운데 영역에 보여준다.
주의! 로그인, 메뉴텝 등은 기능을 구현하지 않음!
만드는 순서는 HTMl 내용을 먼저 작성하고, 그 후에 CSS파일을 만들어서 적용한다.

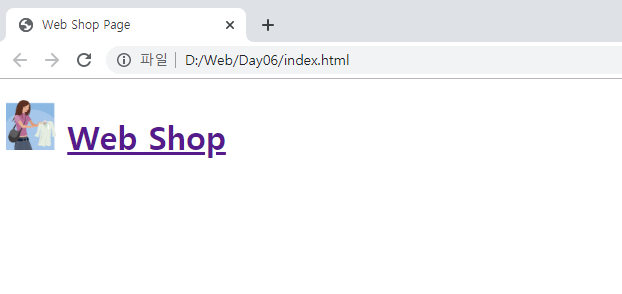
아래 사진은 수정해서 a요소 안에 글자를 썼지만, 실행 화면 캡쳐할때는 li에 글씨를 넣어서 링크가 안먹었다.
코드는 맞지만, 실행화면(실수)에 링크 걸린게 안보일 것이니 참고..
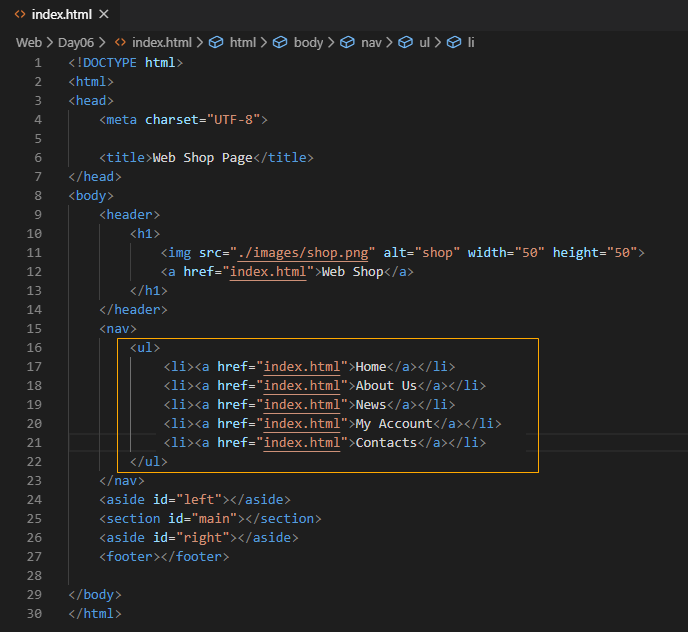
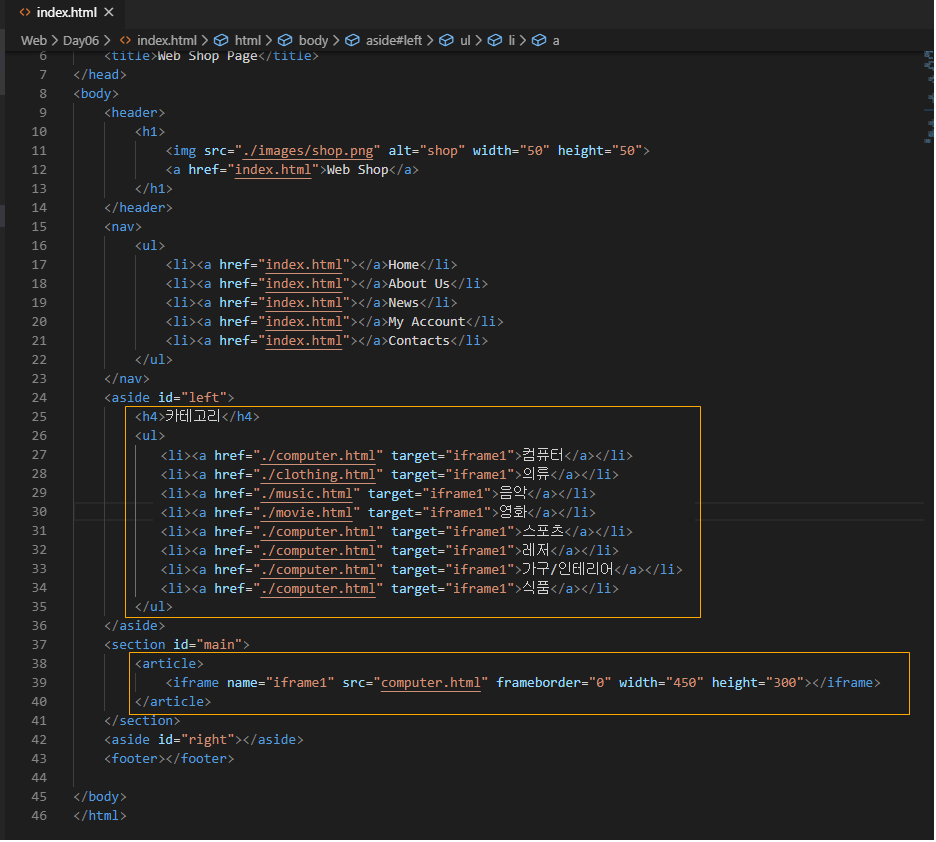
nav영역에 텝 메뉴에 들어갈 이름을 쓰자.
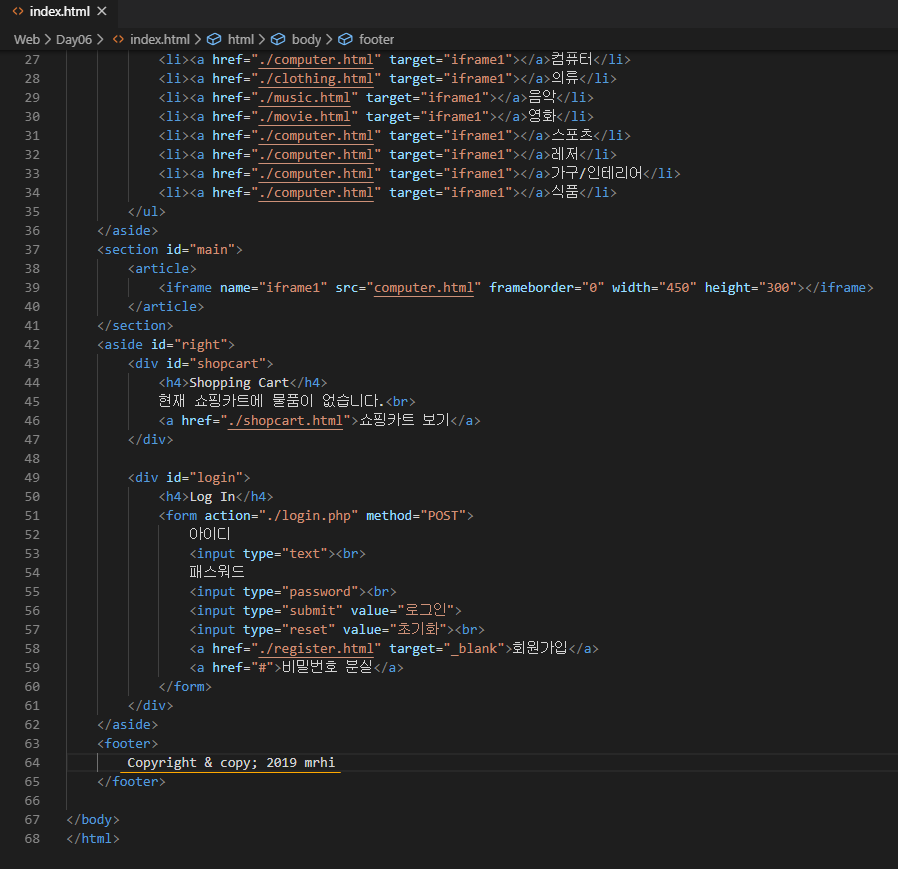
이제 카테고리를 만들고, 카테고리를 눌렀을 시 보여줄 iframe을 section영역에 만들자.
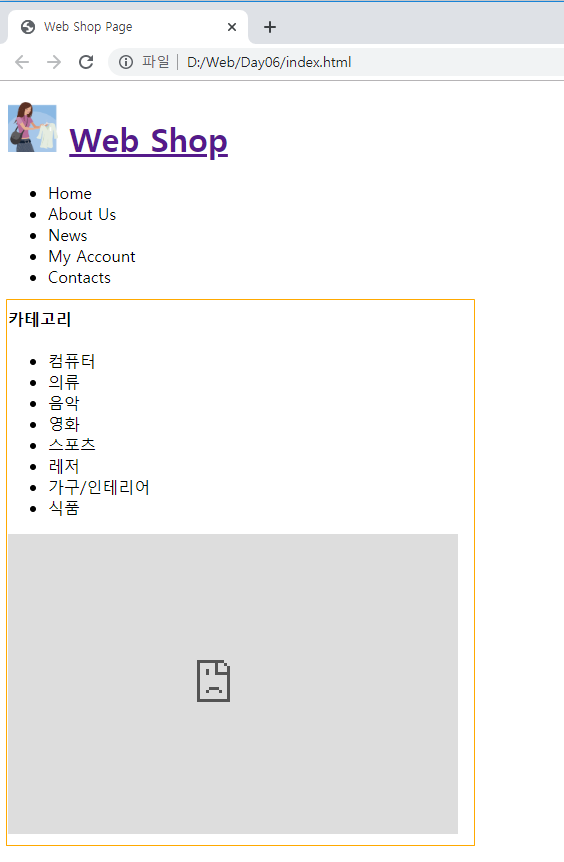
쇼핑카트 목록과 카트 링크도 생성해준다.


로그인 창을 만들자.
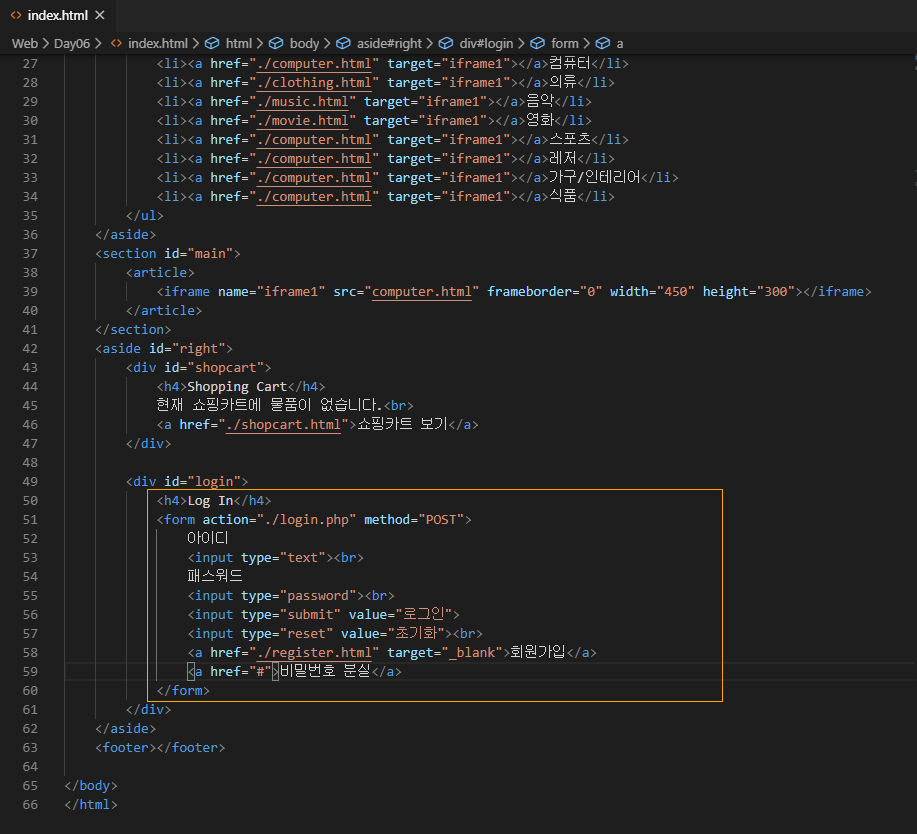

마지막 footer 영역에 임의로 글자를 썼다.
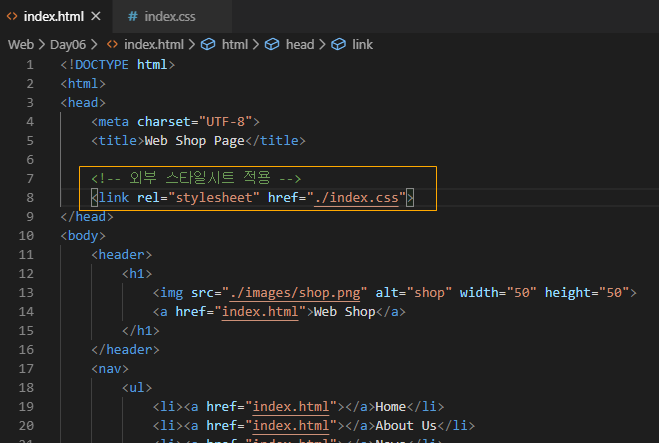
이제 CSS 파일을 만들어서 스타일을 적용하자.

다시 index.html에 와서 만든 .CSS파일을 링크한다.
index.html 코드
|
1
2
3
4
5
6
7
8
9
10
11
12
13
14
15
16
17
18
19
20
21
22
23
24
25
26
27
28
29
30
31
32
33
34
35
36
37
38
39
40
41
42
43
44
45
46
47
48
49
50
51
52
53
54
55
56
57
58
59
60
61
62
63
64
65
66
67
68
69
70
|
<!DOCTYPE html>
<html>
<head>
<meta charset="UTF-8">
<title>Web Shop Page</title>
<!-- 외부 스타일시트 적용 -->
</head>
<body>
<header>
<h1>
</h1>
</header>
<nav>
<ul>
</ul>
</nav>
<aside id="left">
<h4>카테고리</h4>
<ul>
</ul>
</aside>
<section id="main">
<article>
</article>
</section>
<aside id="right">
<div id="shopcart">
<h4>Shopping Cart</h4>
현재 쇼핑카트에 물품이 없습니다.<br>
</div>
<div id="login">
<h4>Log In</h4>
아이디
<input type="text"><br>
패스워드
<input type="password"><br>
<input type="submit" value="로그인">
<input type="reset" value="초기화"><br>
<a href="#">비밀번호 분실</a>
</form>
</div>
</aside>
<footer>
Copyright & copy; 2019 mrhi
</footer>
</body>
</html>
|
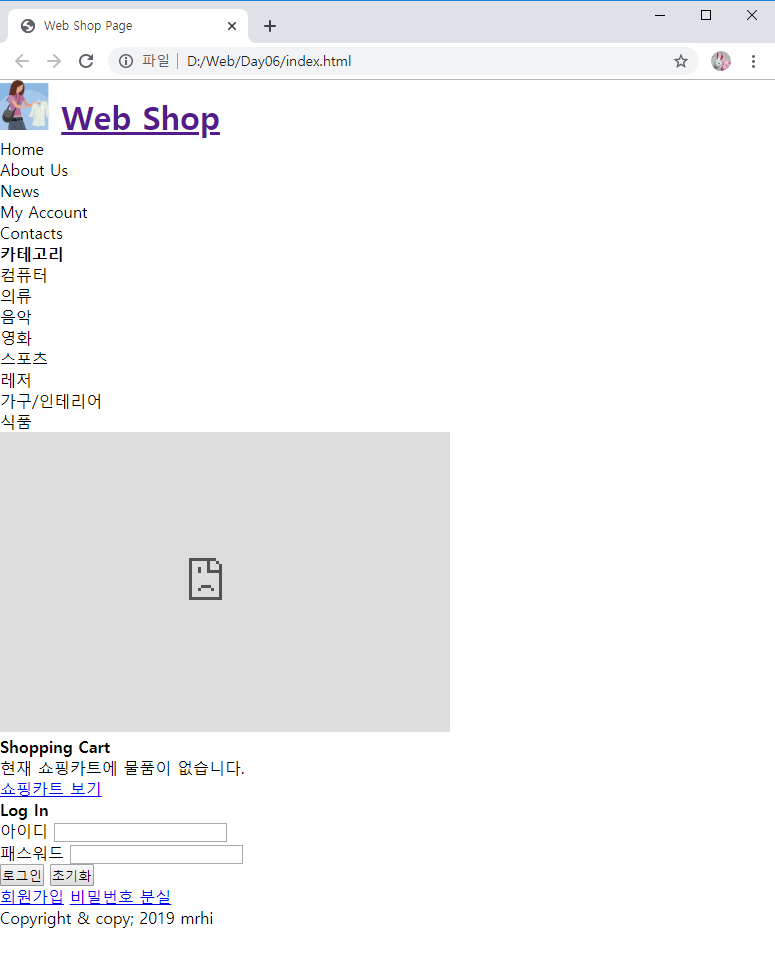
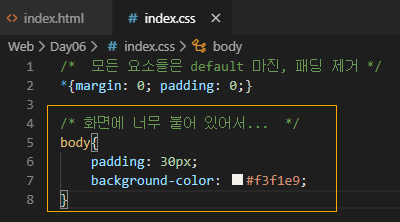
배경색과 간격 조절을 해보자.
[ css 파일은 도중에 여기 저기 코드를 추가해서.. 아래 코드 복붙하게 첨부 해놓음. 복붙용 코드 참고해서 작성해보자.]


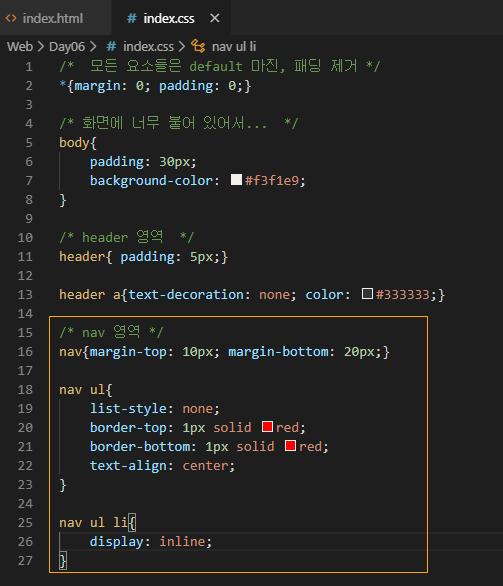
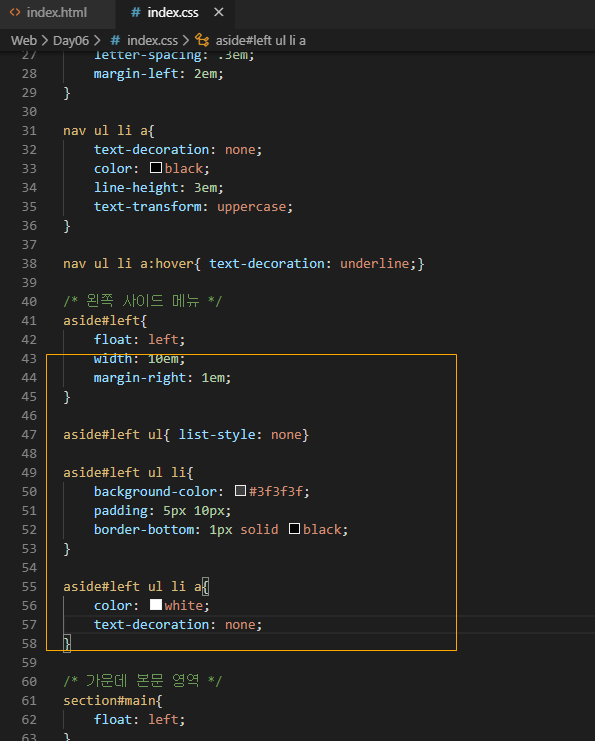
리스트 목록을 텝 메뉴처럼 만들어 보자.


index.css 코드
|
1
2
3
4
5
6
7
8
9
10
11
12
13
14
15
16
17
18
19
20
21
22
23
24
25
26
27
28
29
30
31
32
33
34
35
36
37
38
39
40
41
42
43
44
45
46
47
48
49
50
51
52
53
54
55
56
57
58
59
60
61
62
63
64
65
66
67
68
69
70
71
72
73
74
75
76
77
78
79
80
81
82
83
84
85
86
87
88
89
90
91
92
93
94
95
|
/* 모든 요소들은 default 마진, 패딩 제거 */
*{margin: 0; padding: 0;}
/* 화면에 너무 붙어 있어서... */
body{
padding: 30px;
background-color: #f3f1e9;
}
/* header 영역 */
header{ padding: 5px;}
header a{text-decoration: none; color: #333333;}
/* nav 영역 */
nav{margin-top: 10px; margin-bottom: 20px;}
nav ul{
list-style: none;
border-top: 1px solid red;
border-bottom: 1px solid red;
text-align: center;
}
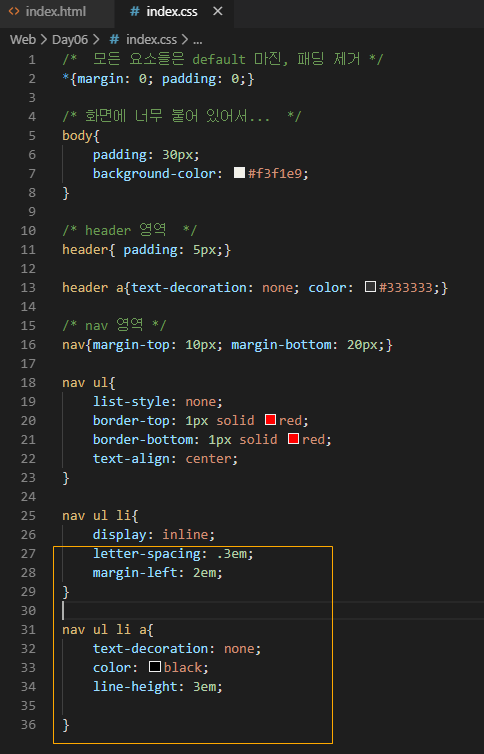
nav ul li{
display: inline;
letter-spacing: .3em;
margin-left: 2em;
}
nav ul li a{
text-decoration: none;
color: black;
line-height: 3em;
text-transform: uppercase;
}
nav ul li a:hover{ text-decoration: underline;}
/* 왼쪽 사이드 메뉴 */
aside#left{
float: left;
width: 10em;
margin-right: 1em;
}
aside#left ul{ list-style: none}
aside#left ul li{
background-color: #3f3f3f;
padding: 5px 10px;
border-bottom: 1px solid black;
}
aside#left ul li a{
color: white;
text-decoration: none;
}
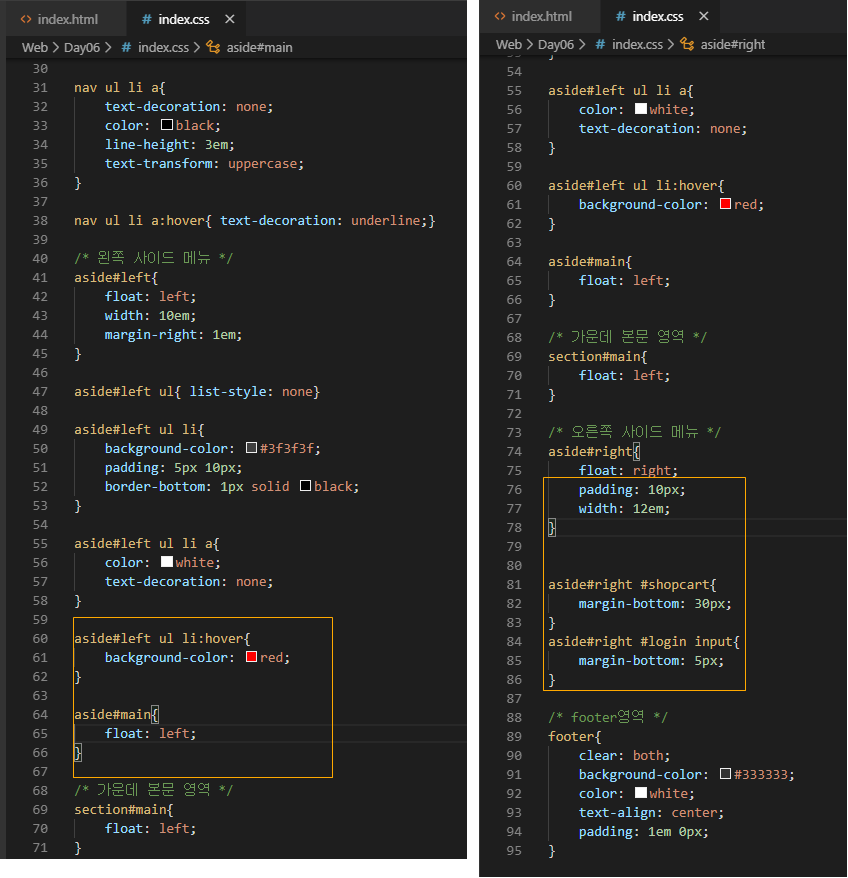
aside#left ul li:hover{
background-color: red;
}
aside#main{
float: left;
}
/* 가운데 본문 영역 */
section#main{
float: left;
}
/* 오른쪽 사이드 메뉴 */
aside#right{
float: right;
padding: 10px;
width: 12em;
}
aside#right #shopcart{
margin-bottom: 30px;
}
aside#right #login input{
margin-bottom: 5px;
}
/* footer영역 */
footer{
clear: both;
background-color: #333333;
color: white;
text-align: center;
padding: 1em 0px;
}
|
index.html에 이미 링크를 걸어두었지만, 만들지 않은 computer.html 파일을 만들자.
[이미지는 임의로 사용하자. 예제에서는 같은 위치에 images라는 폴더를 만들고 거기에 이미지 파일을 넣었다.]
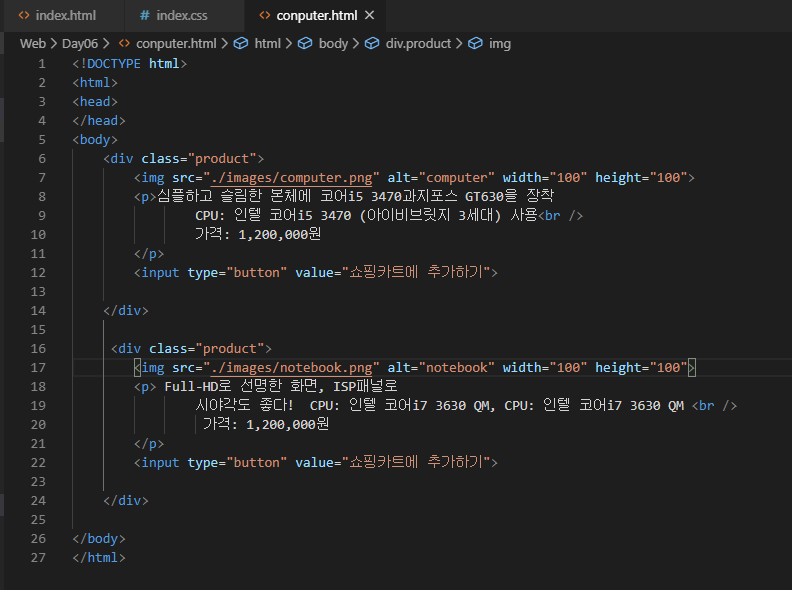
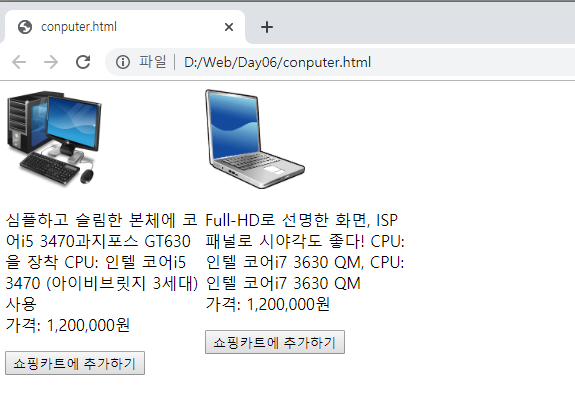
index.html을 브라우저로 열어서 컴퓨터 카테고리를 누르면 만든 computer.html문서 내용이 나온다.

computer.html 코드
|
1
2
3
4
5
6
7
8
9
10
11
12
13
14
15
16
17
18
19
20
21
22
23
24
25
26
27
28
29
30
31
32
33
34
|
<!DOCTYPE html>
<html>
<head>
<style>
.product{
width: 200px;
float: left;
margin-right: 5px;
}
</style>
</head>
<body>
<div class="product">
<p>심플하고 슬림한 본체에 코어i5 3470과지포스 GT630을 장착
CPU: 인텔 코어i5 3470 (아이비브릿지 3세대) 사용<br />
가격: 1,200,000원
</p>
<input type="button" value="쇼핑카트에 추가하기">
</div>
<div class="product">
<p> Full-HD로 선명한 화면, ISP패널로
시야각도 좋다! CPU: 인텔 코어i7 3630 QM, CPU: 인텔 코어i7 3630 QM <br />
가격: 1,200,000원
</p>
<input type="button" value="쇼핑카트에 추가하기">
</div>
</body>
</html>
|
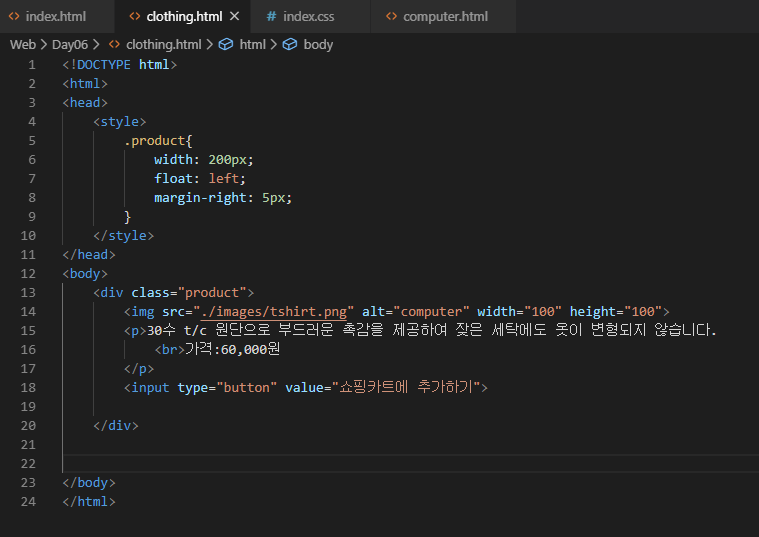
index.html에 이미 링크를 걸어두었지만, 만들지 않은 colthing.html 파일을 만들자.

clothing.html 코드
|
1
2
3
4
5
6
7
8
9
10
11
12
13
14
15
16
17
18
19
20
21
22
23
24
|
<!DOCTYPE html>
<html>
<head>
<style>
.product{
width: 200px;
float: left;
margin-right: 5px;
}
</style>
</head>
<body>
<div class="product">
<p>30수 t/c 원단으로 부드러운 촉감을 제공하여 잦은 세탁에도 옷이 변형되지 않습니다.
<br>가격:60,000원
</p>
<input type="button" value="쇼핑카트에 추가하기">
</div>
</body>
</html>
|
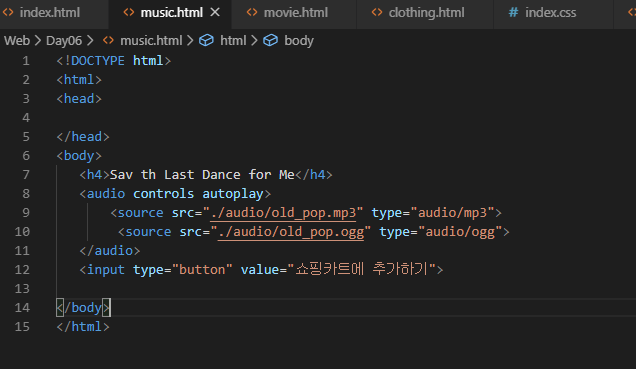
index.html에 이미 링크를 걸어두었지만, 만들지 않은 music.html 파일을 만들자.

music.html 코드
|
1
2
3
4
5
6
7
8
9
10
11
12
13
14
15
|
<!DOCTYPE html>
<html>
<head>
</head>
<body>
<h4>Sav th Last Dance for Me</h4>
<audio controls autoplay>
<source src="./audio/old_pop.mp3" type="audio/mp3">
</audio>
<input type="button" value="쇼핑카트에 추가하기">
</body>
</html>
|
index.html에 이미 링크를 걸어두었지만, 만들지 않은 movie.html 파일을 만들자.


movie.html 코드
|
1
2
3
4
5
6
7
8
9
10
11
12
13
14
15
16
|
<!DOCTYPE html>
<html>
<head>
</head>
<body>
<h4>Toy Story 30</h4>
<video controls width="300" height="200">
<source src="./video/movie.mp4" type="video/mp4">
</video>
<input type="button" value="쇼핑카트에 추가하기">
</body>
</html>
|
예제에서는 카테고리 컴퓨터,의류, 음악, 영화까지만 눌렀을 시 , 달라지는 것을 볼 수 있고
나머지 카테고리, 로그인, 회원가입 등등 기능은 코드를 작성하지 않았다. 맛보기로 알아본 것이다.
<복붙용 코드>
index.html
|
1
2
3
4
5
6
7
8
9
10
11
12
13
14
15
16
17
18
19
20
21
22
23
24
25
26
27
28
29
30
31
32
33
34
35
36
37
38
39
40
41
42
43
44
45
46
47
48
49
50
51
52
53
54
55
56
57
58
59
60
61
62
63
64
65
66
67
68
69
70
|
<!DOCTYPE html>
<html>
<head>
<meta charset="UTF-8">
<title>Web Shop Page</title>
<!-- 외부 스타일시트 적용 -->
</head>
<body>
<header>
<h1>
</h1>
</header>
<nav>
<ul>
</ul>
</nav>
<aside id="left">
<h4>카테고리</h4>
<ul>
</ul>
</aside>
<section id="main">
<article>
</article>
</section>
<aside id="right">
<div id="shopcart">
<h4>Shopping Cart</h4>
현재 쇼핑카트에 물품이 없습니다.<br>
</div>
<div id="login">
<h4>Log In</h4>
아이디
<input type="text"><br>
패스워드
<input type="password"><br>
<input type="submit" value="로그인">
<input type="reset" value="초기화"><br>
<a href="#">비밀번호 분실</a>
</form>
</div>
</aside>
<footer>
Copyright & copy; 2019 mrhi
</footer>
</body>
</html>
|
index.css 코드
|
1
2
3
4
5
6
7
8
9
10
11
12
13
14
15
16
17
18
19
20
21
22
23
24
25
26
27
28
29
30
31
32
33
34
35
36
37
38
39
40
41
42
43
44
45
46
47
48
49
50
51
52
53
54
55
56
57
58
59
60
61
62
63
64
65
66
67
68
69
70
71
72
73
74
75
76
77
78
79
80
81
82
83
84
85
86
87
88
89
90
91
92
93
94
95
|
/* 모든 요소들은 default 마진, 패딩 제거 */
*{margin: 0; padding: 0;}
/* 화면에 너무 붙어 있어서... */
body{
padding: 30px;
background-color: #f3f1e9;
}
/* header 영역 */
header{ padding: 5px;}
header a{text-decoration: none; color: #333333;}
/* nav 영역 */
nav{margin-top: 10px; margin-bottom: 20px;}
nav ul{
list-style: none;
border-top: 1px solid red;
border-bottom: 1px solid red;
text-align: center;
}
nav ul li{
display: inline;
letter-spacing: .3em;
margin-left: 2em;
}
nav ul li a{
text-decoration: none;
color: black;
line-height: 3em;
text-transform: uppercase;
}
nav ul li a:hover{ text-decoration: underline;}
/* 왼쪽 사이드 메뉴 */
aside#left{
float: left;
width: 10em;
margin-right: 1em;
}
aside#left ul{ list-style: none}
aside#left ul li{
background-color: #3f3f3f;
padding: 5px 10px;
border-bottom: 1px solid black;
}
aside#left ul li a{
color: white;
text-decoration: none;
}
aside#left ul li:hover{
background-color: red;
}
aside#main{
float: left;
}
/* 가운데 본문 영역 */
section#main{
float: left;
}
/* 오른쪽 사이드 메뉴 */
aside#right{
float: right;
padding: 10px;
width: 12em;
}
aside#right #shopcart{
margin-bottom: 30px;
}
aside#right #login input{
margin-bottom: 5px;
}
/* footer영역 */
footer{
clear: both;
background-color: #333333;
color: white;
text-align: center;
padding: 1em 0px;
}
|
computer.html 코드
|
1
2
3
4
5
6
7
8
9
10
11
12
13
14
15
16
17
18
19
20
21
22
23
24
25
26
27
28
29
30
31
32
33
34
|
<!DOCTYPE html>
<html>
<head>
<style>
.product{
width: 200px;
float: left;
margin-right: 5px;
}
</style>
</head>
<body>
<div class="product">
<p>심플하고 슬림한 본체에 코어i5 3470과지포스 GT630을 장착
CPU: 인텔 코어i5 3470 (아이비브릿지 3세대) 사용<br />
가격: 1,200,000원
</p>
<input type="button" value="쇼핑카트에 추가하기">
</div>
<div class="product">
<p> Full-HD로 선명한 화면, ISP패널로
시야각도 좋다! CPU: 인텔 코어i7 3630 QM, CPU: 인텔 코어i7 3630 QM <br />
가격: 1,200,000원
</p>
<input type="button" value="쇼핑카트에 추가하기">
</div>
</body>
</html>
|
clothing.html 코드
|
1
2
3
4
5
6
7
8
9
10
11
12
13
14
15
16
17
18
19
20
21
22
23
24
|
<!DOCTYPE html>
<html>
<head>
<style>
.product{
width: 200px;
float: left;
margin-right: 5px;
}
</style>
</head>
<body>
<div class="product">
<p>30수 t/c 원단으로 부드러운 촉감을 제공하여 잦은 세탁에도 옷이 변형되지 않습니다.
<br>가격:60,000원
</p>
<input type="button" value="쇼핑카트에 추가하기">
</div>
</body>
</html>
|
music.html 코드
|
1
2
3
4
5
6
7
8
9
10
11
12
13
14
15
|
<!DOCTYPE html>
<html>
<head>
</head>
<body>
<h4>Sav th Last Dance for Me</h4>
<audio controls autoplay>
<source src="./audio/old_pop.mp3" type="audio/mp3">
</audio>
<input type="button" value="쇼핑카트에 추가하기">
</body>
</html>
|
movie.html
|
1
2
3
4
5
6
7
8
9
10
11
12
13
14
15
16
|
<!DOCTYPE html>
<html>
<head>
</head>
<body>
<h4>Toy Story 30</h4>
<video controls width="300" height="200">
<source src="./video/movie.mp4" type="video/mp4">
</video>
<input type="button" value="쇼핑카트에 추가하기">
</body>
</html>
|
'안드로이드 웹앱 콘테츠 개발자 양성(국비지원) > HTML+ CSS' 카테고리의 다른 글
| HTML+CSS (기초) media 스타일 적용하기 2 (브라우저 크기에 따라 사이즈 조절) (0) | 2019.12.10 |
|---|---|
| HTML+CSS (기초) media 스타일 적용하기 (브라우저 크기에 따라 사이즈 변경) (0) | 2019.12.10 |
| HTML+CSS (기초) animation 만들어서 적용하기 ( 공이 움직이는 모습) (0) | 2019.12.09 |
| HTML+CSS (기초) transition 이용하기 2 (마우스 커서 올렸을 시- 크기, 각도 변화 효과) (0) | 2019.12.09 |
| HTML+CSS (기초) transition 속성 이용하기 ( 마우스 커서 올렸을 시 커지는 효과) (0) | 2019.12.09 |


댓글