반응형
<최종 화면> 이미지를 이동, 투명도, 크기를 변경할 수 있다.
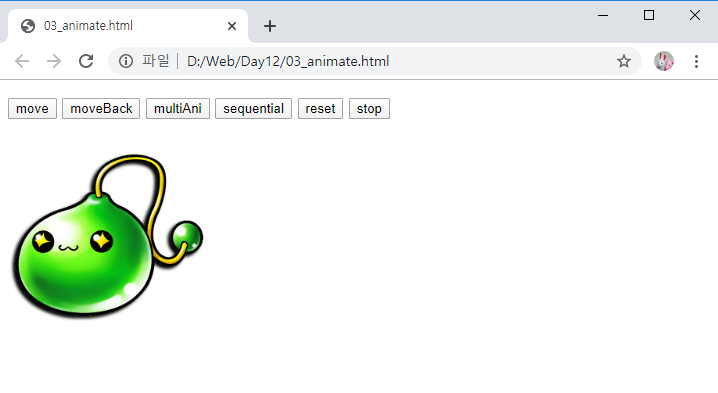
우선 이미지 1개와 버튼 6개를 만들자.

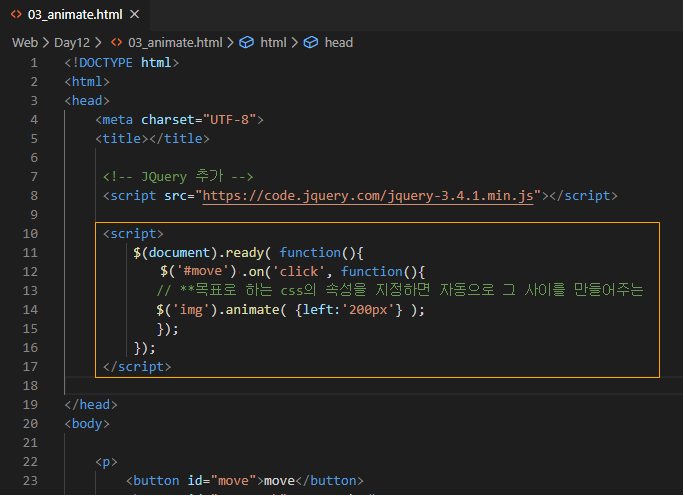
move버튼을 눌렀을 때, 왼쪽으로부터 200px떨어진 지점으로 이동되게 하자.

나머지 버튼의 기능들도 구현하자.

<복붙용 코드>
|
1
2
3
4
5
6
7
8
9
10
11
12
13
14
15
16
17
18
19
20
21
22
23
24
25
26
27
28
29
30
31
32
33
34
35
36
37
38
39
40
41
42
43
44
45
46
47
48
49
50
51
52
53
54
55
56
57
|
<!DOCTYPE html>
<html>
<head>
<meta charset="UTF-8">
<title></title>
<!-- JQuery 추가 -->
<script>
$(document).ready( function(){
$('#move').on('click', function(){
// **목표로 하는 css의 속성을 지정하면 자동으로 그 사이를 만들어주는
$('img').animate( {left:'200px'} );
});
$('#moveBack').on('click', function(){
$('img').animate( {left:''}, 3000 ); //duration
});
$('#multiAni').on('click', function(){
$('img').animate( {left:'+=50px', opacity:'0.4', width:'+=50px', height:'-=50px'}, 3000 ); //duration
});
$('#sequential').on('click', function(){
$('img').animate( {left:'+=30px'}, 1000 );
$('img').animate( {opacity:'0.4'}, 1000 );
$('img').animate( {width:'+=50px'}, 1000 );
$('img').animate( {height:'-=50px'}, 1000 );
});
//리셋
$('#reset').on('click', function(){
$('img').animate( {left:'', opacity:'1.0', width:'200px', height:'200px'}, 3000 );
});
$('#stop').on('click', function(){
$('img').stop();
});
});
</script>
</head>
<body>
<p>
<button id="move">move</button>
<button id="moveBack">moveBack</button>
<button id="multiAni">multiAni</button>
<button id="sequential">sequential</button>
<button id="reset">reset</button>
<button id="stop">stop</button>
</p>
</body>
</html>
|
반응형
'안드로이드 웹앱 콘테츠 개발자 양성(국비지원) > JQuery' 카테고리의 다른 글
| jquery에서 ajax 사용 메소드 [ get(), post(), ajax(), load() ] (0) | 2019.12.18 |
|---|---|
| ajax 이용 X 와 ajax 이용O 비교 (GET, POST 방식) (0) | 2019.12.18 |
| Jquery dom 요소 제어 (0) | 2019.12.18 |
| JQuery animation (이미지에 대해 다양한 효과) (0) | 2019.12.18 |
| jQuery 적용하기 (파일 다운로드, CDN 방식) (0) | 2019.12.18 |


댓글